
NOTE: It is important to understand the basics of assemblies before so be sure that you have watched the information available here.
You can save parametric assemblies to the Home Builder Library to extend the available Cabinet and Entry Door Panels, Door and Window Framing, and Window Inserts.


How to Create a Parametric Assembly
You can use the Create New Asset in the Commands menu.
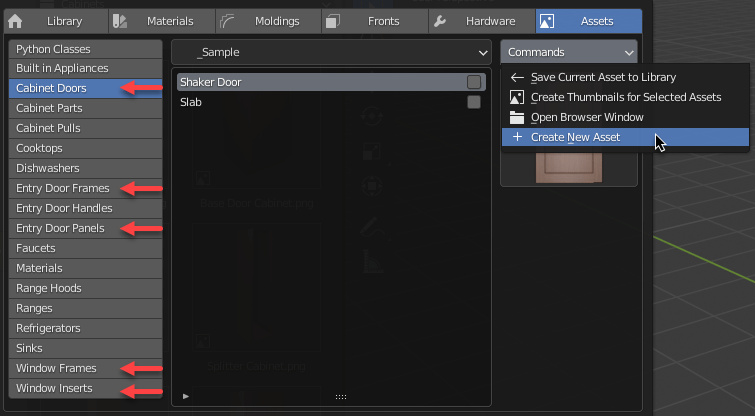
Depending on the asset type that you have selected will determine the default information that will be added to the assembly.
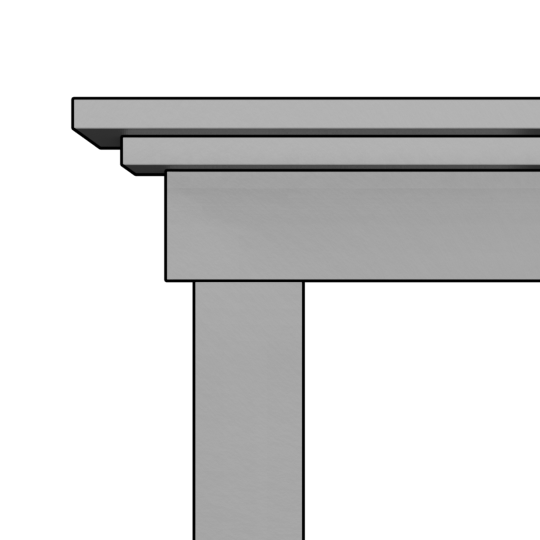
Once you have the assembly created you can create or parent your geometry to the base point of the assembly.

Where is the Base Point for Each Type of Asset?
The base point may be different depending on the type of asset. For example the height of the cabinet doors is the X Dimension, where as the entry door panel height is the Z Dimensions. It is good to look at the sample assets to determine how the assets are assembled.
How to Save Assets to the Library
The process to save the assembly to the library is very simple. In the Library UI select the Assets Tab. Select the asset type you want to save on the tabs on the left.
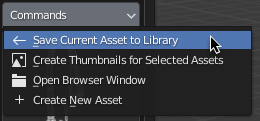
Select the category you want to save the asset to, then in the commands drop down menu, select Save Current Asset to Library.
The assembly that is selected is the asset that will be saved. It is important that the only information that is in the scene is the assembly that you want to save.
How to Add a New Category
These assets are stored on your computer. You can access the location by selecting open browser window in the commands drop down. You can not only add folders here, but you can organize the asset however you want.

There are only two rules:
- Do not remove the default sample assets.
- When moving assets you must move the blend file that contains the asset along with the image with the same name as the blend file.

Leave a comment